AirTags have quickly become a must-have accessory for tracking personal items like keys, bags, and wallets. One of the key features of the AirTag is its replaceable battery, which typically lasts about a year with regular use. When the battery runs low, you can easily replace it to keep your AirTag functioning optimally. In this blog, we’ll walk you through the simple steps to replace your AirTag battery.
Why Replace Your AirTag Battery?

Replacing the battery in your AirTag is crucial for maintaining its functionality. The AirTag uses a CR2032 coin cell battery, which typically lasts about a year with standard usage. Over time, the battery will deplete, leading to a decline in performance and eventually a loss of functionality, including location tracking and sound alerts. The Find My app will notify you when the battery is low, prompting you to replace it. Regular battery replacement ensures your AirTag continues to effectively track your belongings, providing peace of mind and security.
What You’ll Need
To replace the AirTag battery, you need a few simple items: a new CR2032 coin cell battery and optionally a small flat tool, such as a coin or a small screwdriver. The CR2032 battery is widely available at electronics stores and online, making it easy to find. The flat tool can help you open the AirTag, though it’s not always necessary. These tools are all you need to perform a quick and efficient battery replacement, keeping your AirTag operational.
How to Replace AirTag Battery
1. Locate the AirTag
Begin by identifying the AirTag that requires a new battery. If you have multiple AirTags, use the Find My app to check the battery status of each. The app will show a low battery alert for the specific AirTag that needs replacement. This ensures you address the correct device and helps you keep track of the maintenance for all your AirTags.
2. Open the AirTag
To open the AirTag, hold it with the white plastic side down. Place your fingers on the metal back and twist it counterclockwise. If it’s difficult to twist, use a small coin or flat tool to assist you. This step removes the metal cover, revealing the battery compartment inside. It’s important to be gentle to avoid damaging the AirTag’s components.
3. Remove the Old Battery

Once the cover is off, you’ll see the CR2032 battery. Carefully remove the old battery by gently prying it out, taking care not to damage the contacts or other internal parts. Disposing of the old battery properly is essential for environmental safety. This step prepares the AirTag for the new battery, ensuring it can be inserted cleanly and securely.
4. Insert the New Battery
Place the new CR2032 battery into the AirTag with the positive (+) side facing up. As you insert the battery, the AirTag will emit a small chime, indicating it has detected the new power source. This sound confirms that the battery is correctly positioned and the device is operational. Ensuring proper battery placement is crucial for the AirTag to function correctly.
5. Close the AirTag
After inserting the new battery, reattach the metal cover by aligning it with the slots on the AirTag and twisting it clockwise until it locks into place. Make sure the cover is tightly secured to protect the internal components from moisture and dust. A properly closed AirTag ensures that the battery stays in place and the device remains durable and effective.
6. Verify the Battery Replacement
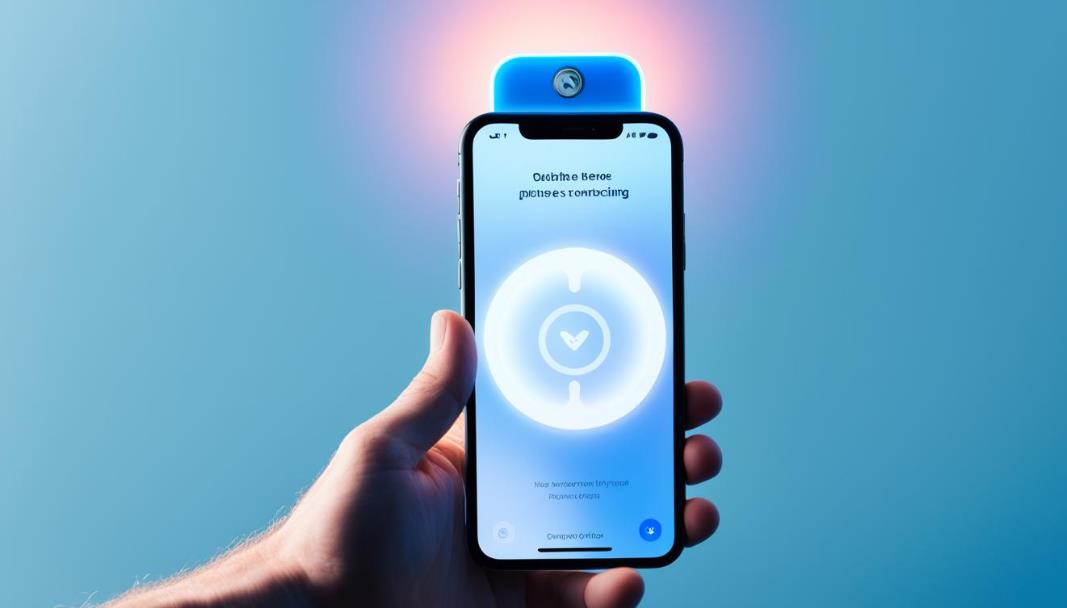
To confirm that the battery replacement was successful, check the AirTag’s status in the Find My app. The app should reflect the updated battery level and indicate that the AirTag is working properly. This final step ensures that the new battery is functioning as expected, and your AirTag is ready to continue tracking your items without interruption.
Benefits of Regular AirTag Maintenance
Keeping your AirTag in good working condition goes beyond just replacing the battery. Regular maintenance, such as cleaning the device and checking for physical damage, can prolong its lifespan. Dust and moisture can potentially affect the device’s performance, so wiping the exterior with a dry cloth during battery replacement can be beneficial.
Maintaining an updated list of your AirTags in the Find My app also helps you keep track of which items are equipped with AirTags, ensuring you’re aware of any maintenance needs. Regularly checking the app for the battery status and other alerts can help you stay proactive in managing your devices.
Troubleshooting Battery Issues
Recheck the Battery Position
When replacing the AirTag battery, it’s crucial to ensure that the battery is inserted with the positive (+) side facing up. This correct orientation is essential for the device to function properly. The AirTag will emit a chime sound when the battery is correctly seated, signaling that it has recognized the power source. If you don’t hear the chime, the battery might not be placed correctly, and the device won’t activate. Double-checking the battery position can often resolve issues with the AirTag not working after a battery replacement.
Inspect for Obstructions
After inserting the new battery, it’s important to check the battery contacts within the AirTag for any debris or obstructions. Dust, dirt, or residue can interfere with the electrical connection between the battery and the device, preventing it from powering on. Use a clean, dry cloth to gently wipe the contacts and the battery itself if needed. This simple cleaning step can ensure a proper connection, allowing the AirTag to function as intended.
Restart the AirTag

If the AirTag still doesn’t respond after checking the battery position and contacts, try restarting the device. To do this, remove the battery and wait for about 30 seconds before reinserting it. This brief reset can sometimes help the AirTag recognize the new battery, especially if there was a minor software or hardware hiccup during the replacement process. Listening for the chime after reinserting the battery can confirm the device is back in working order.
Update the Find My App
Sometimes, issues with AirTag functionality can be related to the Find My app rather than the device itself. Ensuring that your Find My app is up to date can help resolve connectivity or reporting issues, including problems with displaying the correct battery status. App updates often include bug fixes and improvements that enhance device compatibility and performance. Checking for and installing the latest updates is a good practice to ensure smooth operation and accurate information display for your AirTag and other devices.
Tips for Extending AirTag Battery Life
To maximize your AirTag’s battery life, use sound alerts sparingly, as they can drain the battery more quickly. Store your AirTag in a cool, dry place when not in use to prevent unnecessary battery consumption. Regularly check the battery status in the Find My app to stay ahead of low battery warnings and plan replacements. These practices help you get the most out of each battery, ensuring your AirTag remains effective and reliable over time.
Replacing your AirTag’s battery is a straightforward task that ensures the device remains functional and reliable. By following this simple guide, you can easily maintain your AirTag and continue to benefit from its tracking capabilities. Regular battery replacements, combined with good maintenance practices, extend the life of your AirTag and keep your tracking seamless. Keep this guide handy for future battery replacements, and share it with others who might find it helpful in maintaining their AirTags.
FAQs About AirTag Battery Replacement
1. How do I know when to replace the AirTag battery?
The Find My app will notify you when your AirTag’s battery is running low. You might see a warning like “Battery Low” next to the AirTag’s name. This is a cue to replace the battery soon to avoid losing the device’s tracking capabilities.
2. Can I use any CR2032 battery for my AirTag?
Yes, you can use any standard CR2032 coin cell battery, as this is the type designed to fit the AirTag. However, it’s recommended to use high-quality batteries from reputable brands to ensure longevity and reliable performance. Be cautious of batteries with a bitter coating, as some types can interfere with the AirTag’s battery contacts.
3. What should I do with the old battery?
Proper disposal of the old battery is crucial. CR2032 batteries, like other batteries, should not be thrown away with regular household waste. Instead, recycle them at designated battery recycling centers or drop-off points often available at electronics stores or community recycling programs.
4. How long does a new AirTag battery last?
A new CR2032 battery in an AirTag typically lasts about a year under normal usage conditions. This duration can vary depending on how often you use features like sound alerts or if the AirTag is frequently in motion, prompting more frequent location updates.
5. Can replacing the battery damage my AirTag?
Replacing the battery in your AirTag is a straightforward process and unlikely to cause damage if done carefully. However, it’s important to avoid using excessive force when opening or closing the AirTag and to ensure the battery is properly seated to maintain the device’s integrity.